Showing posts with label delicious. Show all posts

Wednesday, March 27, 2013

Spicy Smoked Sausage Pasta

I have a lot of catching up to do on recipes!! This recipe I pulled from Kevin and Amanda's blog who got this recipe from the cookbook, The Best Simple Recipes! Smoked sausage is one of those things I love to eat, but often forget exists when I'm at the grocery store! This is an absolutely delightful, hearty dish that we had no problems polishing off in just a couple of days! Let's get started...

Ingredients
1 TB olive oil
1 lb. smoked sausage
1.5 c diced onion
2 cloves garlic-minced
2 c chicken broth
1 (10 oz) can Rotel
1/2 c heavy cream
8 oz. Penne Pasta
1/2 tsp. salt & pepper 
1 c Mont Jack shredded cheese
1/3 c thin sliced green onion

To begin, you're going to want to add your olive oil to your pan over medium/high heat! You're going to want the oil to get hot enough it's smoking before you add the sliced smoked sausage and diced onion. 


Cook these two together until slightly browned, which should take about 4-6 minutes! Add in the 2 garlic cloves, and saute about 30 seconds, or until fragrant! 

Add the chicken broth, tomatoes, heavy cream, pasta, salt and pepper and stir together!
Bring this all to boil and cover leaving the heat on medium/low and simmer for about 15 minutes or until the pasta is tender!


Stir in 1/2 of a cup of the shredded cheese and mix together well! Top it off with the remaining 1/2 cup of cheese and sliced green onion, and place under the broiler for a just a few minutes, until the cheese is bubbly and getting brown!

Ready for the broiler

Out of the broiler!

All finished and ready to eat :)

This recipe was absolutely wonderful since it's been so cold outside, it helped warm us up! I did sprinkle a little dash or two of red pepper flakes in there to spice it up a little more! 
Stay tuned for another recipe from a friend of mine!

Until then...


Thursday, March 21, 2013

Broccoli & Chicken Casserole


This recipe was a hands down winner in our home!! I found the recipe off of a fun blog titled, Just Get Off Your Butt and Bake! (Since you said it so nicely lol)! She has tons of great looking recipes that I can't wait to try out! I threw this one together fairly quickly, and once all your ingredients are put together, it goes by more smoothly! (I should also add I was in a major hurry trying to get this done before DJ left for work, and finished just in time!) Let's get started...

Ingredients
1 lb. fresh broccoli-broken into pieces & steamed for 2 minutes
3 cups of cooked chicken-broken into little pieces
1 1/2 c Cheddar Cheese-shredded
2 tubes of Ritz Crackers
1 stick of melted butter
1 TBS Poppy Seeds

SAUCE
1/3 c butter-melted
1/4 c cornstarch dissolved in 1/2 of a cup of cold water
1/3 c Chicken Broth
1/4 tsp. salt
1/4 tsp. pepper
2 c Milk
1 1/2 c shredded Cheddar cheese

Pre-heat your oven to 350 degrees. In a greased 9x13 pan layer the steamed broccoli on the bottom, then add the shredded chicken. Set this aside for now! In a saucepan, melt the one stick of butter and add the poppy seeds. Set the temperature to low once these two ingredients have been incorporated. In a large Ziploc bag, add the Ritz crackers, and take a rolling pin and crush the crackers. Don't make the pieces too small (more chunky pieces)! Once you have your cracker crumbs, pour the crumbs into the saucepan with your butter and poppy seeds and stir together! Add the 1 1/2 c of shredded cheddar cheese to the pan (on top of the chicken). Keep the saucepan on low for now! In a separate sauce pan, you're going to melt the 1/3 cup of butter. Add the cornstarch, broth, salt, pepper, and milk and stir together! I waited until this was all heated through before I added the 1 1/2 cups of shredded cheddar cheese. Once you have all the ingredients stirred together, your sauce should now be a much thicker consistency. Pour the sauce over the cheddar cheese layer in your pan, then top it off with your Ritz cracker crumb mixture from the other pan! Place all this in the oven (uncovered) for 30 minutes! Let it cool for a couple minutes, and the rest is history!! Seriously, we probably would have taken down the whole pan by ourselves last night if we had been given the chance...it was THAT good!! This is now going in our "favorite dishes" book!! It seems like a lot of work, but there's no chopping, just a lot of standing by the stove making sure all your saucepans are behaving! Had I not been rushing around like a crazy person, this would have been a very easy dinner to make! 

Fresh broccoli (prior to tearing it all apart and steaming it)

Here is the broccoli in it's steam bath!

Make sure when you are making the corn starch and water mixture that your water is VERY COLD! This will thicken up quickly and stick to the bottom of your bowl! So, I made my mix right before I was ready to put it in the sauce pan!

The good thing about this recipe is that it doesn't take all the Ritz crackers from the box! I love to snack on these and club crackers!! 

This is the Ritz cracker, butter and poppy seed mix! If you look closely you can see the tiny poppy seeds in there :)

Here it is out right out of the oven, and part of it is already gone! 
DELICIOUS!! 

Stay tuned for some great recipes!! 
I don't know about ya'll but I am more than excited for Spring to finally be here and STAY here!! We had beautiful weather this past weekend (partially), and now we are back to chilly. cloudy days! (I'm pretty sure it might have just sleeted a little bit here)! I have been looking up Spring accessories, clothes, decorations and recipes for a couple weeks now! I came across this fun Etsy shop with some great items! Check it out if you haven't already found her yourself! 

This pocket purse is only $14... DEAL!! She really has some crazy cute stuff! 

Now I need to go decide what's next on the menu!
Until next time...

Monday, March 18, 2013

Taco Salad


Taco salad is an easy dinner and absolutely delicious! I can remember eating this when I was a little girl! I never seem to remember it when I'm stuck for something to make for dinner, but I remembered last night and I couldn't be happier I did! It's fairly easy to put together and will leave you happy and coming back for seconds! Let's get started...

Ingredients
1 lb. ground beef
1 onion
2 small tomatoes
2 cloves of garlic
1 pkg. (or pre-made) taco seasoning
Corn Tortillas
Canola oil
Shredded Cheese-I used the Mexican blend 
Shredded Lettuce-
(I didn't have this on hand last night but I normally always put it on there)
Catalina Dressing

You're going to want to brown the meat in a large skillet, and add about half of the onion (chopped), garlic cloves and one small tomato (diced). Once your meat is cooked through you're going to add the taco seasoning and water. Keep the meat on warm, and add a little canola oil to a small skillet. Heat the oil until it's smoking and add one tortilla at a time for about 10-15 seconds per side. All you're trying to do is give the tortilla a crispy crunch!! Place tortillas out on a paper towel to soak up any remaining oil. Dice the remainder of the onion and the second tomato and add to a plate! Here are the steps to putting these together...

1) Place tortilla on a plate
2) Add meat
3) Top with onion, tomato, and lettuce
4) Add shredded cheese
5) Top it off with the Catalina Dressing
6) ENJOY!!

Meat mixture in the skillet staying warm!

This is the size of the onion I used! 

Step 1) Add crispy corn tortilla to your plate! (You need to use corn, the flour tortillas don't get crispy like these do)! 

Finished Taco Salad! YUM! 

Stay tuned for a chickpea snack tomorrow! 
Until then...

Thursday, March 7, 2013

Sour Cream Enchiladas = Scrumptious


Thanks to the Pioneer Woman, and her wonderful recipes, we had a positively wonderful dinner with her sour cream enchiladas, and some chipotle pasta! You can find her recipe here, on her website! These were a little more work, and very messy (at least for me, but then again when am I not messy) but completely worth the effort! Let's get started!

Ingredients
12 Corn tortillas
Canola oil, for frying
1 can (20 oz) Enchilada Sauce
2 c Sour cream
3 c Cheddar cheese
1 c Green onion
1/2 tsp. Ground cumin
1/4 tsp Cayenne pepper

Pre-heat your oven to 375 degrees. 

In a bowl, you're going to to want to mix together the green onion, sour cream, 1 1/2 c cheddar cheese (THIS IS ONLY HALF OF WHAT THE RECIPE CALLS FOR), cumin and cayenne pepper! 


Heat canola oil over medium heat in a small skillet until it's beginning to smoke! In a larger skillet, pour the enchilada into another pan and heat over low/medium heat. 

Using tongs, fry the tortillas one at a time for about 5-10 seconds per side! Remove the tortilla from the oil, and place in the enchilada sauce and coat each side!


Okay, here is where it can get a bit messy. So I'll give you my step by step, which seemed to bring down the mess from 10 to a 3! 

I removed the tortilla from the sauce with the tongs and placed it on a plate. Spoon the sour cream mixture into the middle of the tortilla and roll the tortilla and place it face down in a 9x13 baking pan. 

At this point, I stopped and rinsed my hands and the tongs and dried them off on a dish towel. The first couple of times I did not rinse, I found the enchilada sauce made the oil pop in the skillet, which caused a lot of dodging of the flying hot grease! If everything is rinsed, you don't have that problem! I know it seems like a lot of work for 12 tortillas, but trust me, it's worth it! 

Once you have all 12 tortillas rolled, and face down in the pan, add the remaining 1 1/2 cups of cheddar cheese to the top of the enchiladas and bake for 15-20 minutes, or until the cheese is bubbly and golden brown! Remove from oven, top with salsa or whatever your heart desires and enjoy!! We absolutely loved this, and will for sure make it again! Plus with it just being the two of us, we had plenty of leftovers! 


Stay tuned for some great new recipes!
Until then...

Tuesday, March 5, 2013

Mom Tested & Kid Approved Smoothie


A good friend of mine sent me some pictures and directions to a smoothie she made the other day! 
I honestly can't wait to try this out simply because I've never thought of adding grapes to my smoothies! I LOVE grapes! I think my favorite thing to do is to freeze them then take them with me as a cold snack on hot summer days! YUM! So let's see how to put this smoothie together!

Ingredients
1 frozen pineapple puree packet
1 cara cara orange peeled
Small bowl of black seedless grapes (about a cup)
About 1/4 c of vanilla yogurt
Splash of almond milk
1 1/2 c of ice cubes

Put all this in your blender, and blend until you have your desired consistency! 
Her stand point is that this tasted like an Orange Julius, only better! I'm sold!

This can be found in the frozen section at select grocery stores!
If you have a Reasor's...that's where this particular bag came from

Cara Cara Navel Oranges! Delish


Boomer Sooner Realtree Mug! Looks so good (the mug and the contents lol)

I do believe she likes it! Almost getting a thumb's up from this sweet girl! 

Stay tuned for some more great recipes!
Until then...

Tuesday, February 26, 2013

Coffee-Cocoa Crusted Venison On A Bed Of Spinach


We are absolutely loving finding recipes from the Game and Garden lady, and trying them out in our kitchen! For Valentine's Day, they enjoyed this recipe which we made last night! When you put all of this together and finally sit down to eat, the smell in the house alone is a give-away to the delightful dish you're getting ready to enjoy! The entire house smells like chocolate coffee, with a fabulous sweet berry topping! Not to mention there are no onions or garlic to chop, so the delicious smell lasts on your hands as well (it's like having a chocolate lotion-YUM)!  Now, we did ours a tiny bit different than her's because we had slightly different ingredients in our pantry. So let's get started!

Ingredients
1/3 c coffee grounds
(I didn't realize until it was too late that I make vanilla coffee...didn't matter! Still tasted wonderful)
1/4 c cocoa
(We used dark chocolate cocoa powder)
1 TB brown sugar
1 tsp cinnamon
1/2 tsp. cayenne pepper
1/2 loin
(I didn't have a venison loin. I did however have butterflied back straps. Which worked great!)
If you don't have venison, don't fret...I would use a pork loin!
Olive oil for browning

Mix together all the ingredients to make your dry rub. I sprinkled the rub over the meat, and pushed down to make sure it was thoroughly coated! Make sure all sides of the meat are covered in the dry rub mix. 


Once you have each piece (or loin) covered in the dry rub, get a skillet out and add some olive oil to the pan for browning the meat. You are going to want to get your pan "smoking hot"! Once our skillet was smoking, we placed the meat in one piece at a time to brown on both sides! (I think since we used dark chocolate and coffee-It looked completely seared or charred! It wasn't. Just make sure you keep an eye on it!) Once you have your meat browned, you're going to want to put it in a 350 degree oven for 5 minutes! 

Meanwhile let's talk about the berry sauce! Here are the ingredients...

Ingredients
1 1/2 c blackberries
1/2 c blueberries
1/2 c red wine
1/4 c sugar
1 lemon-juiced
salt to taste

Place all your ingredients in a small sauce pot on the stove, and bring to a boil! Reduce the heat and reduce the sauce by half! 


At some point during the sauce making, your venison will be done in the oven. Carefully remove the pan, and let it cool for a couple of minutes. I sliced mine into small strips, if you have a loin like the recipe link above (or right here) you can cut it into small rounds. Make a bed of spinach (or arugula) to add everything to on a plate! 

Once your sauce is finished and removed from the heat, here are my step-by-step instructions as to how I put this all together:

1) Add bed of spinach to my plate
2) Take the strips of meat and dip each one in a Raspberry Chipotle sauce.
3) Add meat to top of spinach
4) Spoon berry sauce over the top like a delicious salad dressing
5) ENJOY!


I think this is one of my new favorite dishes! If you've been unsure about trying venison, I would recommend starting with something like this! There was no "game" flavor whatsoever, and the meat was so tender it practically falls apart in the first bite! The chocolate and coffee flavors are wonderful together! Then when you pair it with the tiny bit of a spicy kick you get from the dipping sauce, and then pair that with the sweet berry sauce, it's a completely unbelievable, melt-in your mouth kind of taste! This is why we love cooking from the Game and Garden site, because she has so many recipes to choose from, and they are ALL so tasty! 

Until Next Time...


Friday, February 22, 2013

Chicken, Cheddar, Bacon & Rice Bake


I came upon yet another fun food blog titled, What's cooking in the burbs! She has some serious great looking recipes that I can't wait to try! I'm no where near going through them but I did however find this little gem on Pinterest which is what got me to her blog in the first place. She adapted this recipe from AllRecipes and we LOVED it! I really struggled with putting the bacon in or leaving it out (healthy eating...remember?)! However, I still had a ways to go before I reached my goal for the day, so in went the bacon! Just FYI in case you're interested, this recipe, as is, runs about 445 calories per serving. If you leave out the bacon you can subtract 135 calories and come up with 310 calories per serving! If bacon is involved, I will typically favor the bacon IN instead of the bacon OUT! So let's get started, because once you make it, you're not going to want to stop eating it! This recipe serves about 6 people, so for 2 of us we had plenty of leftovers!

Ingredients
4 TB butter
1 medium onion, chopped (about one cup)
4 garlic cloves-minced (I used 3 because they were pretty big)
1 tsp seasoning salt
1 tsp Kosher salt (I forgot this when I made it-tasted just fine)
1/2 tsp black pepper
4 TB flour
3 1/2 c chicken stock
3 1/2 c milk
1 1/2 c long grain rice
3 c cooked chicken
1 1/2 c cheddar cheese-shredded
1/2 c cooked-crumbled bacon

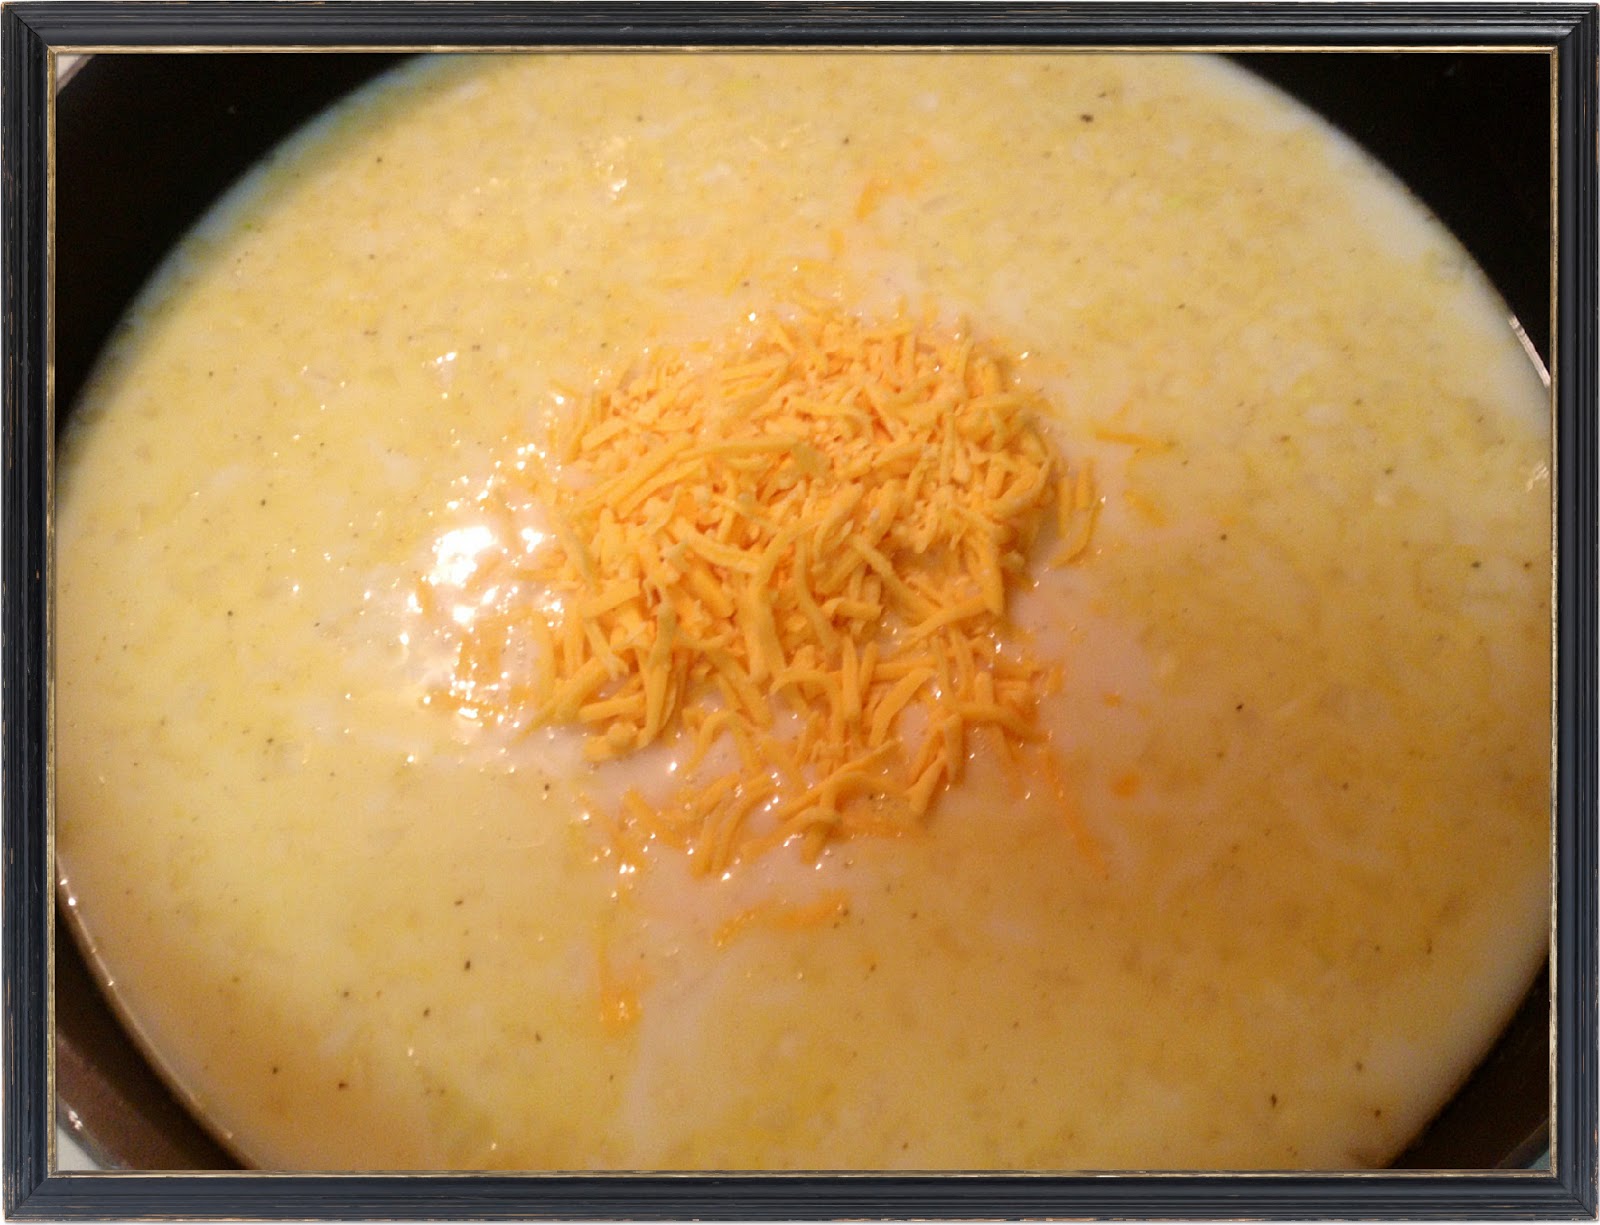
To start it out you're going to melt the butter in a pan and add the onions. Cook the onions until they are tender, then add the garlic, seasoning salt and pepper. Stir this all together and add in the flour. Mix well! It's going to start to "clump" together so make sure you don't leave it alone for too long! Stir in the milk and chicken stock and turn the heat on the stove up to medium-high. Add in ONE CUP of cheese! (NOTE: This is not all the cheese for the recipe! I ALWAYS mess up and see "stir in cheese and add the whole cup and half and then realize later I was only supposed to put in a portion of the ingredient.) 


Continue to whisk until everything comes to a simmer. Add in the rice and lower the heat to medium-low and cook about 20 minutes or until the rice has absorbed most of the liquid! 

While this mixture was cooking, Dee Jay was working on getting the bacon cooked and crumbled!


Once your rice mixture is finished on the stove, add in the chicken and bacon to the rice/sauce mix! Pour all this into a 9x13 pan and sprinkle the remaining 1/2 c of cheese on top! Place it in the oven for 20-25 (we did 22 minutes) and bake until the cheese is bubbly! 

This is everything in the pan EXCEPT for the cheese topping!


I cannot express to you how much we enjoyed this recipe! It's not to heavy or loaded down, it's just...dare I say...perfectly delicious! Stay tuned for some more yummy recipes! 
Until then...